Collaborating with Navisworks can be a great way to communicate with all the project partners, it can also create some headaches. As collaboration gets more and more detailed each discipline needs to better understand the other disciplines and their working requirements. (This makes any employee who understands more than their isolated discipline a much more valuable asset!) One workflow is to have both Revit and Navisworks open and to co-ordinate geometry by exporting NWC files from Revit and updating the Navisworks model. In order to be effective and productive this has to be done as efficiently as possible, I am currently attempting this workflow only to be ground to a halt for 6-8 minutes every time I refresh my Navisworks file. Although to be honest it is giving me both the impetus and the time to write this entry ![]() So let’s go over a quick how-to for using Revit and Navisworks to help speed the process up.
So let’s go over a quick how-to for using Revit and Navisworks to help speed the process up.
What to Export
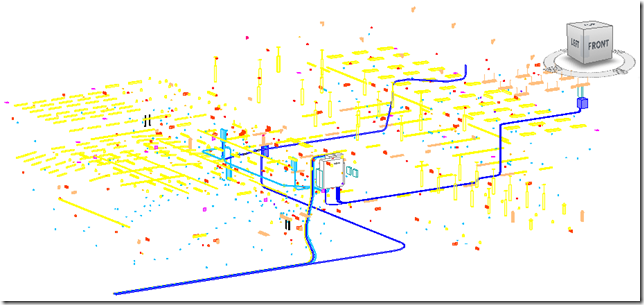
Always export only your own information! I can not emphasise this enough – everyone else is going to do the same so if you are the electrical there is no need for you to include the architectural model. As an example, the electrical model would look like this
So make an isolated 3D view (good practice is to name it “Navis” more on this another time) and go through the Visibility Graphics settings and turn off everything is not directly your own responsibility. There is a quick category caveat – family elements set to generic or speciality equipment may be from many different disciplines, think about editing them to make your families your own discipline or use VG filters to isolate your own.
HOW to Export
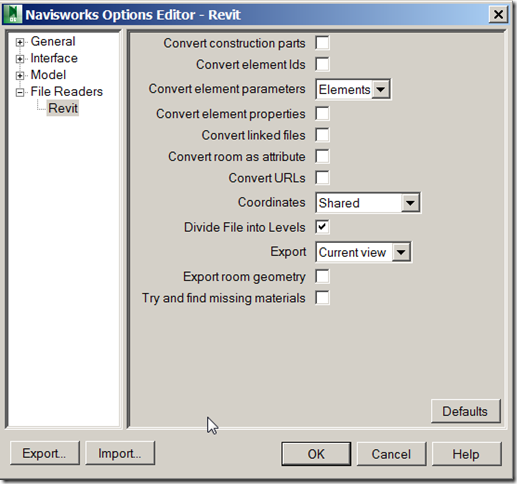
During the export to NWC there is a place to choose the Navisworks Settings…
My settings look like this
convert construction parts: unless you are the GC you likely don’t need to use this
convert element ID’s: this is the unique identifier for each element it could be left on
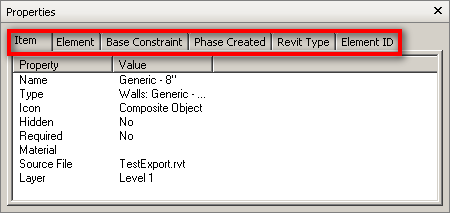
convert element parameters: Basic Revit properties will be included in the Navisworks file regardless of this setting. Checking this box will do 2 things during the export process:
1. Additional properties will be included with the resulting Navisworks file. These include properties for Navisworks related to the element properties, object orientation, material information, associated level, worksharing information, family specifications, cuttability and Revit object category.
2. Depending on the size and number of objects in your project, the export time can dramatically increase as additional properties will be translated. For example a 100 MB file with this unchecked may take a few minutes. Check the box and the export time may jump to 20 minutes. This is something to keep in mind if you don’t need the additional information in Navisworks. – PLEASE PLEASE UN-CHECK THIS
Checked
Unchecked

convert element properties : consider not including these (see above)
convert linked files: please don’t include
convert room as attribute: unless you are the architect this is not required
convert URLs: will include any URL’s associated with families
coordinates: this depends on the project specific settings
divide file into levels: helpful as it divides the selection browser to include levels but it’s not required if you don’t need it
export: current view: YES – this is why we made the “Navis” view – there is another reason to name it “Navis” but that is for another day
export room geometry: do you really need the room to be a transparent object in Navisworks getting in the way of EVERY attempt to select something? consider not checking this.
try to find missing materials: if they are missing here they are gonna be missing everywhere, who cares? if you couldn’t be bothered to find them and set up your Revit with them then they are obviously not important enough to be brought into Navisworks. besides we can add materials in NW and then render but again that’s for another day.


