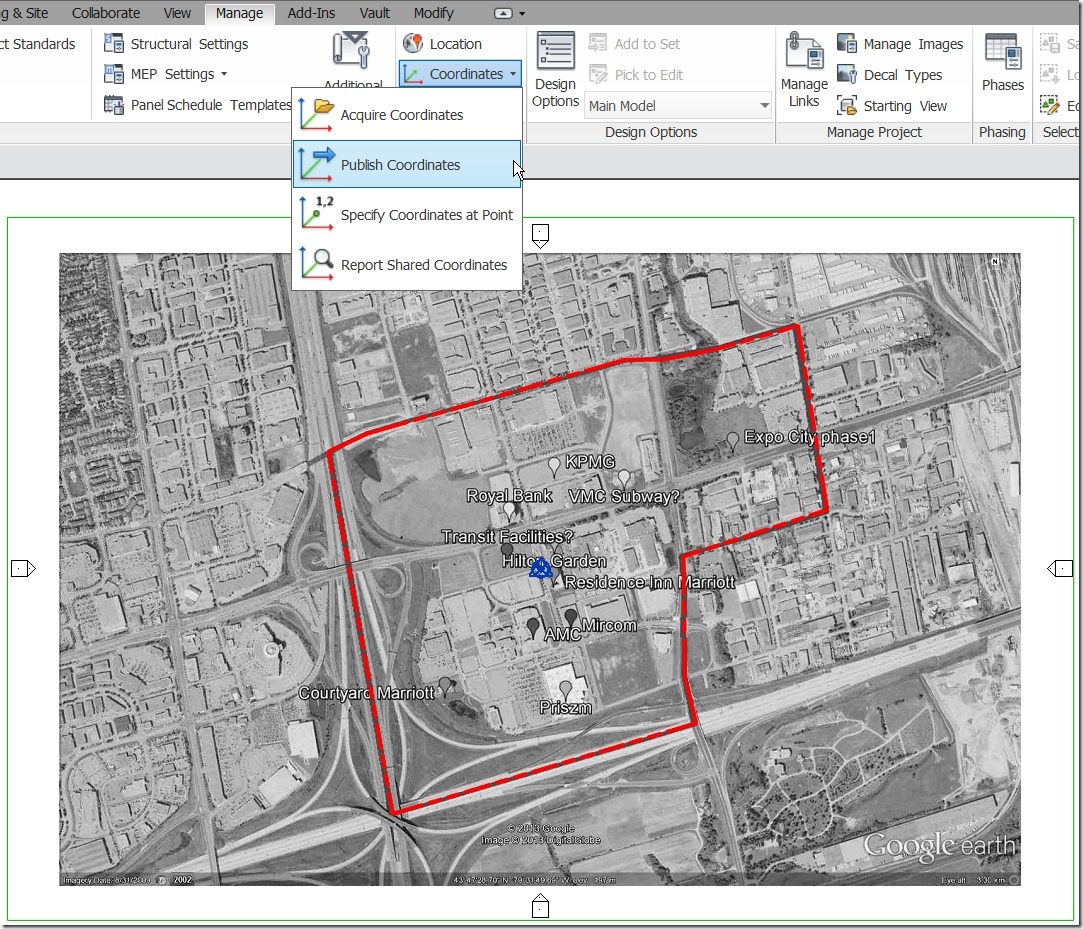
The proper workflow for a multiple building project would be to have each building as it’s own separate file which are then linked into a standalone site file. This is when we will take advantage of the publish & acquire coordinates function to set each files separate 0,0,0 to be co-ordinated with their actual locations relative to the site.
site
How to Take Site pictures
The following is the summary guidelines from Autodesk Labs for taking site pictures. Be sure to checkout their getting started guide as they include pictures…
Capturing the reality as-built for various purposes (renovation, energy analysis, add-ons design, etc…) is now becoming possible using your standard digital camera, thanks to advanced computer vision technologies developed by Autodesk, called “Camera Factory,” and now made available through “Project Photofly.” Project Photofly is a technology preview to automatically convert photographs shot around an object or a scene into “Photo Scenes” using the power of cloud computing.
This getting started page section is the Photo Guide, which will help you shoot the right pictures to successfully create Photo Scenes. Make sure to read these guidelines before using Project Photofly!
Which camera and lens can I use?
- Use a standard digital camera, with a reasonably high resolution (5 million to 10 million pixels).
- We recommend to use wide angle lenses (20, 24 or 28 mm) or higher for your project.
What are the basic shooting rules and constraints that I must know?
- Shoot pictures of scenes or objects that have texture information and that show some spatial content (worst case scenario: a purely flat white wall for example).
- Avoid very shiny objects under the sun, and transparent objects such as glasses.
- Shoot your series of pictures around the object or the scene, with a lot of overlap.
- Make sure to see your most important scene content from multiple viewpoints.
- Do not crop the images.
How many Source Photos do I need to shoot?
- More pictures is better than not enough.
- Shoot at least 20 Source Photos for half a building (1 façade + 1 or 2 sides) for example.
- Shoot at least 40 Source Photos if you turn around a complete building.
Should I rotate around the scene or should I pan in front of it?
- Rotating around the scene is always better than panning in front of it.
- If you really need to pan, make sure that you add side views of the scene as well, which will help the Camera Factory engine to understand the depth of your scene.
What should I do at corners when moving around a building?
- More pictures is better than not enough, when you move from one face of a building to the next.
Can I zoom and add close-ups?
- Wide view angles are much better than narrow ones.
- Un-zoom as much as you can to capture the widest possible images, and keep these settings for the entire scene.
- Preferably shoot your close-ups by getting closer rather than by zooming.
- Consider a close-up as a sub-project that requires: a few pictures from several angles, sufficient depth and texture information in each picture.
Should I use the portrait or the landscape mode?
- Make sure, before starting your shooting, to select the best possible mode between portrait or landscape, and keep it for the entire scene.
How can I capture long or tall buildings (Wide Angle Viewpoints technique)?
- Use Wide Angle Viewpoints made of overlapping photos, to capture long or tall buildings when you don’t have enough room or/and when you cannot use a wide angle lens.
- You can combine Wide Angle Viewpoints with normal views. For example, a series of Wide Angle Viewpoints can get the long façades of a building, while you will shoot a series of standard views to capture the continuity at the corners as explained here.
- When shooting for a Wide Angle Viewpoint, make sure to create as much parallax as you can by holding your camera far from your rotation axis. This technique is just at the opposite of the standard rule for panoramic photography, which requires moving the camera around the nodal point to avoid overlap.
How can I schedule my shots?
- Spending some time scheduling your shot might be very useful. It’s even more valid if you outsource the shooting to another photographer.
- Use a Google Earth view of the location, and place your camera positions, taking into account the view angle of your lens.
What I should NOT do?
- Avoid unwanted foregrounds and moving objects as much as possible.
You can use the “Wide Angle Views” technique to get closer and potentially avoid such artifacts in your pictures. - Avoid un-textured and flat-only objects or scenes.
- Shoot shiny objects under a cloudy sky preferably.
What I should NOT miss while on site?
- Identify clear areas that you will use to set your scale and your reference coordinate system.
- Measure a reference distance.

